Microsoft 365: What is and how to set up “Idle session timeout”?
Microsoft finally implemented “Idle session timeout for Microsoft 365”, and it is awesome! This is still in preview, but back in the day, the only way to configure this was with Conditional Access (CA), which meant an Azure AD Premium 1 license. With the “Idle session timeout” feature, things have changed and in my testing environment, it worked even with Azure AD free licenses.
What is the purpose of “Idle session timeout”?
Personally, I would use it to add another layer of security for end-users working on non-company or shared devices.
Important: The idle session timeout does not affect Microsoft 365 or mobile apps.
What should I do to turn this on?
Firstly, you need to be a Global Administrator.
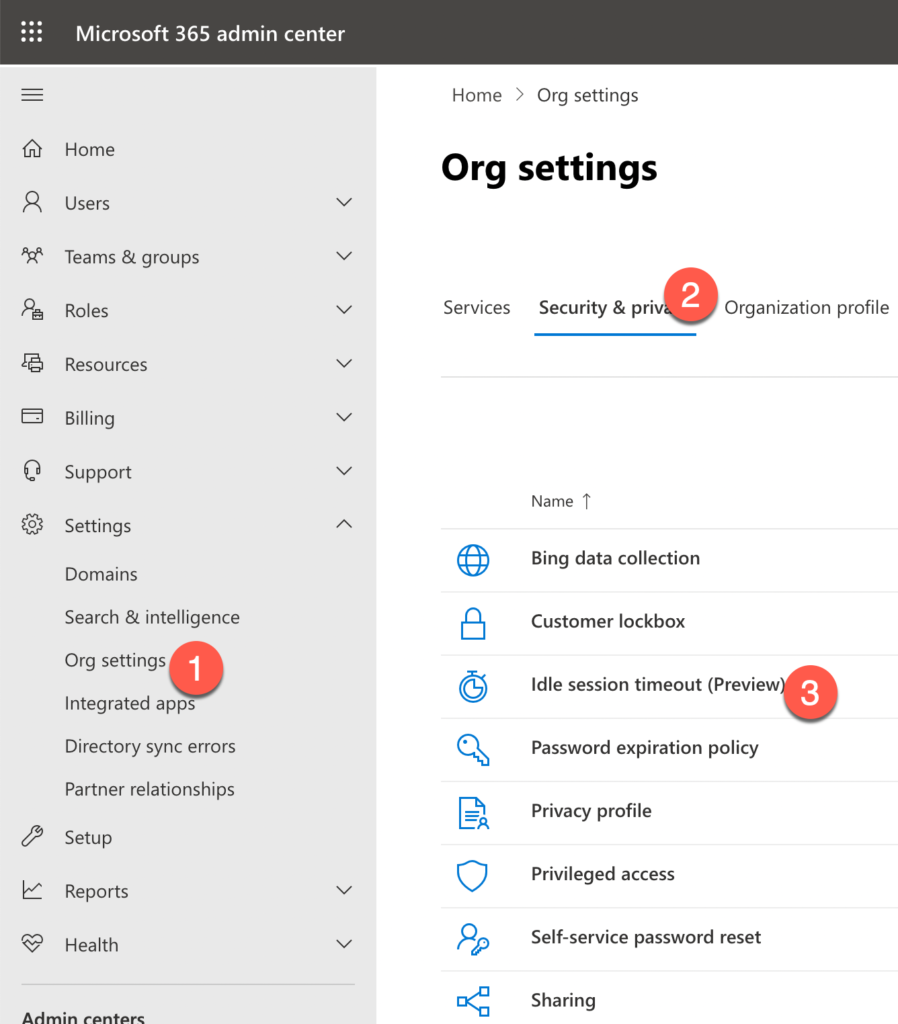
- Then log in to Microsoft 365 admin center, go to Org Settings > Security & Privacy tab, and select Idle session timeout.
2. To enable the Idle Session Timeout, select the toggle button. You can choose a default setting time or set your own (custom).

Note: It may take a few minutes before idle sessions are enabled in your organization
What should users expect?
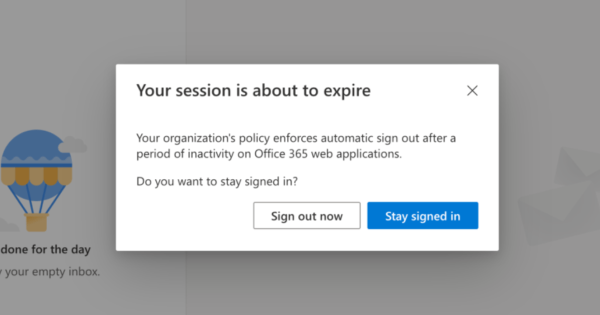
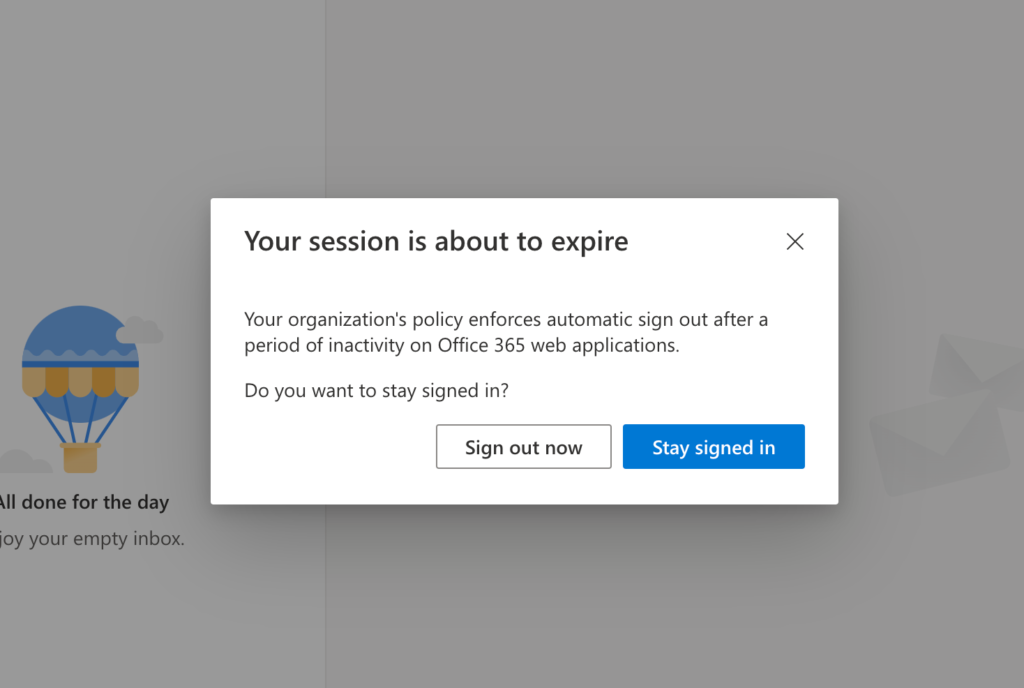
When a user has been inactive in Microsoft 365 web apps for a set amount of time, they will see the following prompt. The user will have the option to stay signed in or to sign out.
Furthermore, only certain Microsoft 365 web apps are supported (see below). Microsoft plans to add more soon.
- Outlook Web App
- OneDrive for Business
- SharePoint Online (SPO)
- Office.com and other start pages
- Office (Word, Excel, PowerPoint) on the web
- Microsoft 365 Admin Center
If you are interested to read more about this feature, please visit the Microsoft docs site – click here.
Such a great and to the point article.